5. Painted Toy Box with a Stencilled Name or Motif
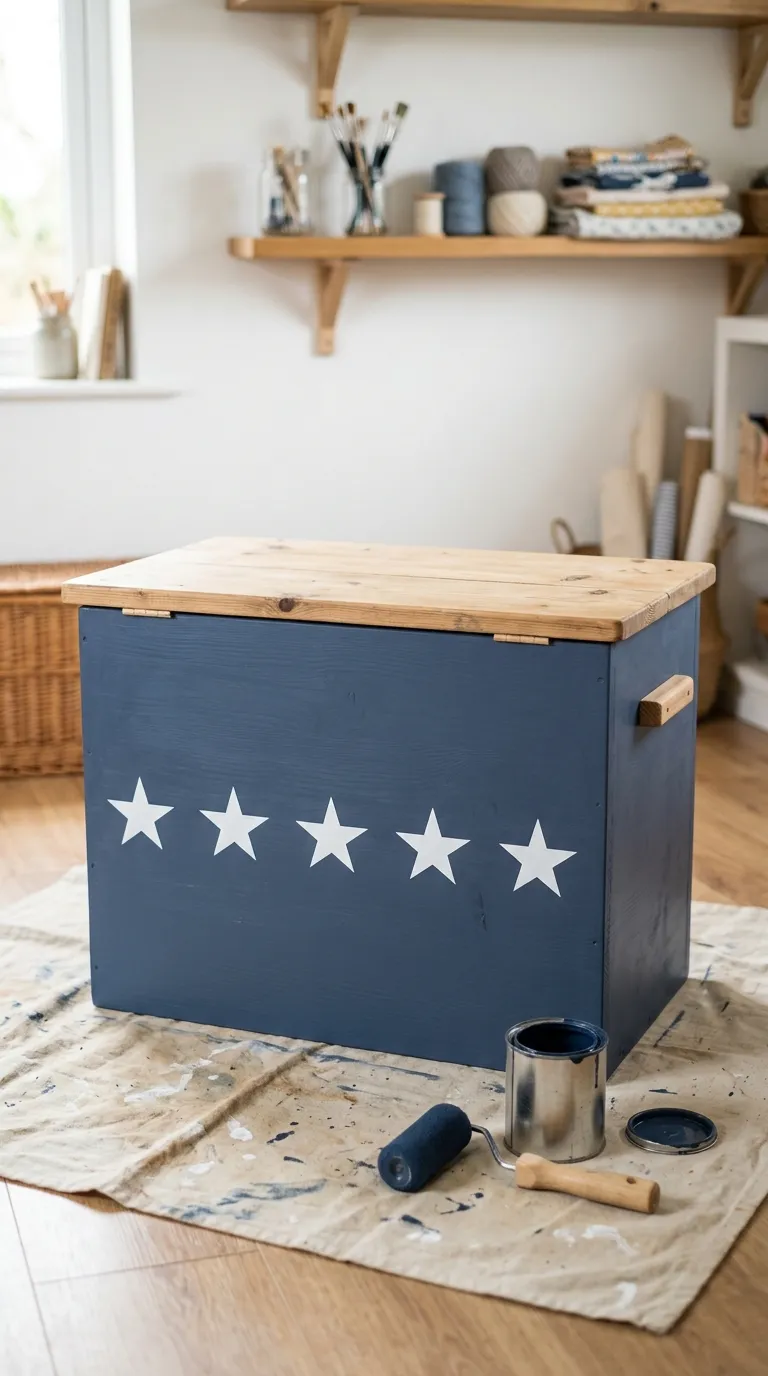
Sometimes the woodwork is the boring part and the decoration is where the personality lives. Take any basic chest — new or secondhand — and turn the front panel into a feature with paint, a stencil, or a hand-painted pattern.
Start with a solid base coat in a colour you can live with for years: warm white, soft navy, muted mustard, or a gentle blush. Let it cure fully, then add the design. Peel-and-stick stencils make crisp shapes possible without any lettering skill, and a repeated motif like a row of stars, clouds, or leaves along the bottom edge reads well from across the room. If you want a name on the lid, use stencil letters and a small foam roller rather than a brush — the edges stay sharp.
Materials: base paint, stencil or painter’s tape, foam rollers, a small craft brush, water-based polycrylic topcoat.
Time: two hours of active work, spread over a couple of days for drying. Difficulty: beginner-friendly.
Always finish with a topcoat. Painted furniture in a child’s room takes a beating, and two thin coats of water-based polycrylic will keep the design from rubbing off where little hands grab the edge. Let it cure for several days before loading toys in, and ventilate the room while it dries.
This is also the cheapest route if you already own a plain box. A sample pot of paint and a pack of stencils costs very little, and you can repaint the motif as tastes change from dinosaurs to space to horses without rebuilding anything.